China Shandong Qingdao Unit 2301, Building 4, No. 1 Xiangling Road +86-15621190058 [email protected]
China Shandong Qingdao Unit 2301, Building 4, No. 1 Xiangling Road +86-15621190058 [email protected]
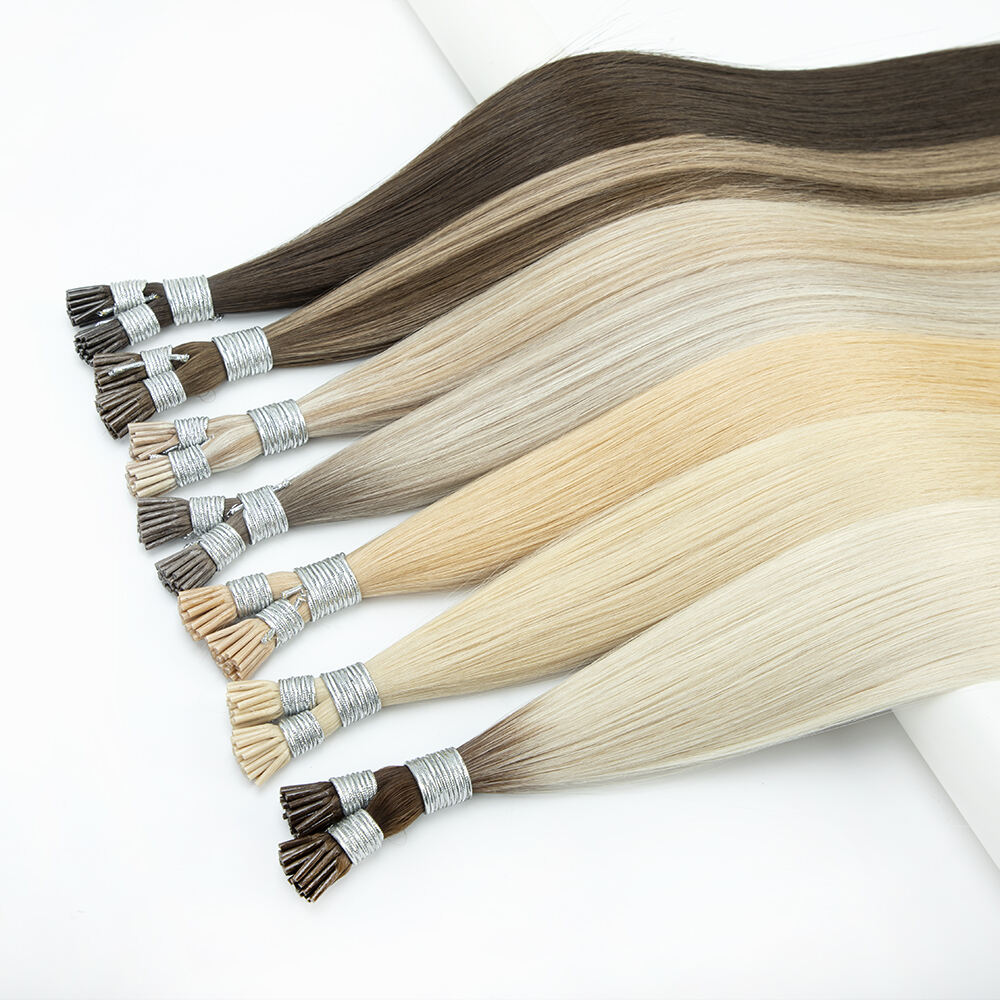
Hair extensions that are 100% real human hair give people extra length and thickness without anyone noticing they're there. Synthetic options just don't compare because real hair actually behaves the same way as what grows from our scalps it reflects light naturally, has the right texture, and flows properly when moved around. The special glue used these days sticks well enough to stay put but isn't harsh on the hair either. What this means is that the extensions mix in so well with existing hair that most folks won't even realize they're looking at something added. That's why so many women choose them especially those concerned about how their head looks under bright lights, want something comfortable against their skin, and care about keeping their actual hair healthy over time rather than damaging it with cheaper products.
Real human hair behaves naturally when exposed to moisture in the air, takes on natural oils from the scalp, and responds to heat styling tools exactly like our own biological hair does, which means it moves and feels authentic throughout the day. The special thing about Remy human hair is those cuticles are all going in the same direction, so it doesn't tangle as easily and stays shiny looking for around three to four months if looked after properly. According to a recent survey conducted last year, nearly nine out of ten people said they felt more confident wearing extensions made from real human hair because of how closely they matched their natural texture, something synthetic alternatives simply cannot replicate no matter how advanced the technology gets.
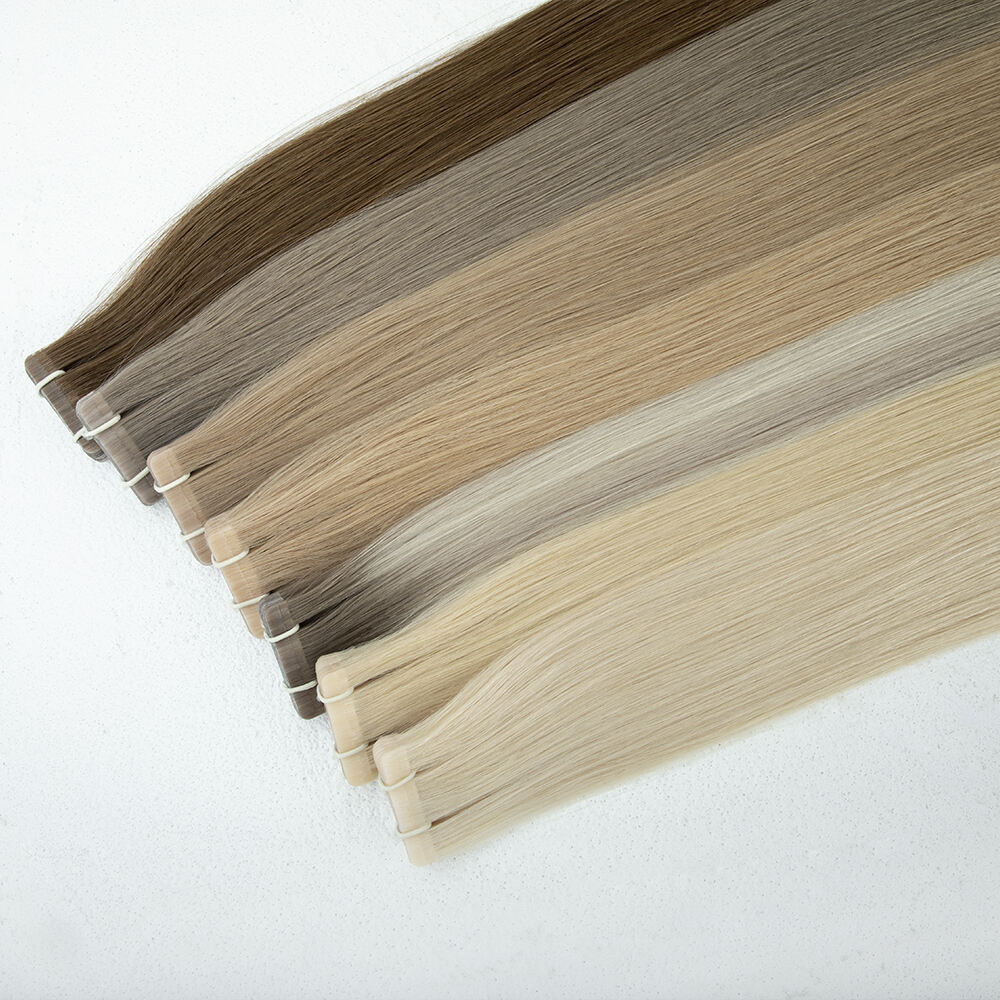
Today's tape in extensions rely on medical grade adhesives that become active when they come into contact with body temperature. The adhesive material is both hypoallergenic and free from solvents, spreading the weight across each strand of hair so it doesn't put too much pressure on individual follicles. Measuring only about 1 millimeter thick, these tapes sit nicely against the skin surface, which means no annoying lumps where traditional clip ins or glued options tend to create problems. A recent survey conducted at several top salons found that around 9 out of 10 customers didn't report any kind of irritation after wearing them, making these products particularly good choice for people with sensitive skin issues.
High-quality tape-ins typically last 6–8 weeks before repositioning is needed. Key factors affecting longevity include:
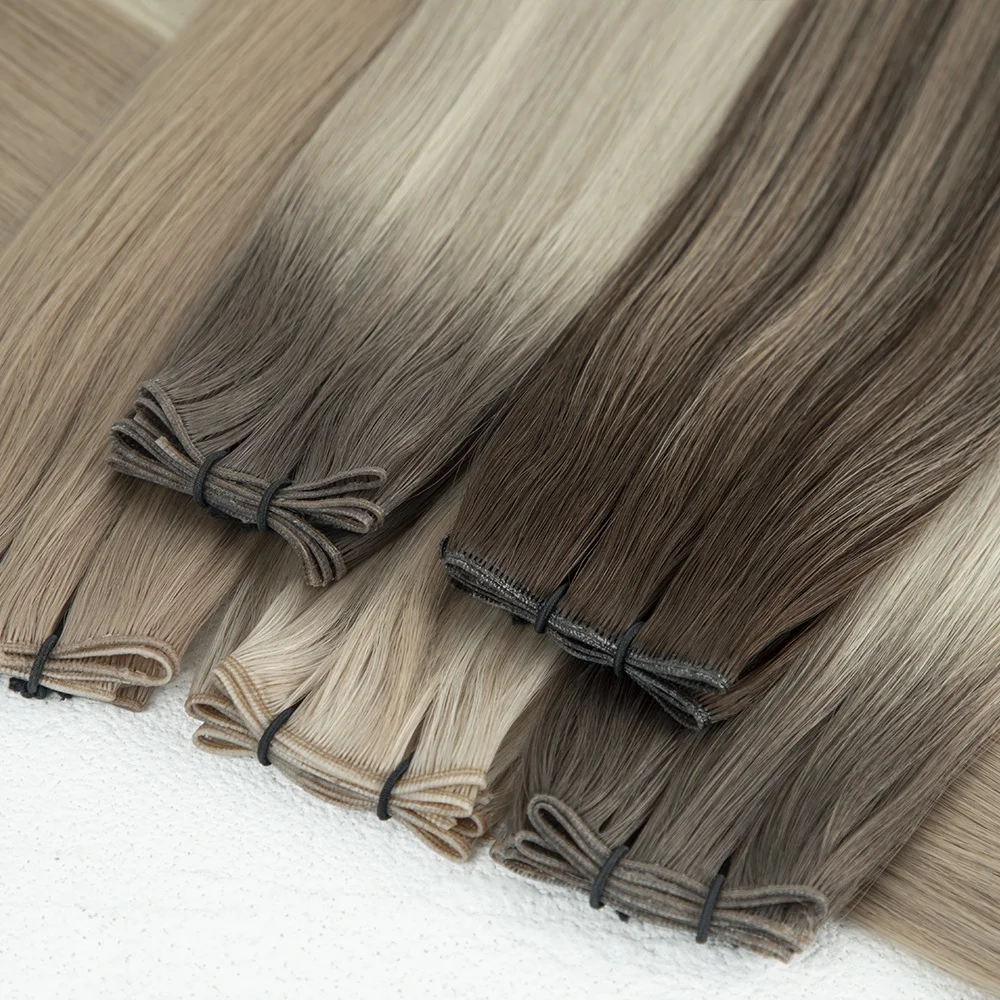
When getting extensions, a licensed stylist takes time to look at how thick or thin your hair is, what kind of texture it has, and the overall health of your scalp before deciding where to place them and how dense they should be. The whole point of this tailored method is so that the added weight doesn't sit unevenly on one part of your head, puts less stress on your own hair strands, and actually works with whatever look someone wants to achieve. Take fine hair for instance – people with really delicate strands often find that having bigger gaps between each section helps prevent their natural hair from looking sparse. On the flip side, those with coarser textures usually do better when the application is tighter and more structured since it holds up better without slipping around.
Use a sulfate-free clarifying shampoo to remove oils, silicones, and product buildup—common causes of weak adhesion. Avoid conditioners and oil-based treatments 24 hours before installation, as they create a barrier that compromises bonding. A 2025 study showed pre-application cleansing improves bond strength by 40% compared to unwashed hair.
Blow-dry hair thoroughly on medium heat, ensuring roots are at least 98% dry. Moisture trapped under the tape can weaken the adhesive prematurely. Drying also slightly lifts the cuticle, enhancing grip without damaging the hair shaft and promoting a longer-lasting, flatter bond.
When working with clean, damp hair, start by dividing it into sections that are roughly 1 to 2 centimeters thick. Use a rat tail comb for this task, beginning at the back of the head near the neck area and moving upwards towards the crown. As each section is worked on, clip up the rest so everything stays organized during the process. Creating these horizontal rows helps make sure the wefts sit nicely against the scalp in straight lines, which makes them much harder to see when finished. There should be approximately one centimeter space between each row to avoid creating unnecessary volume in certain areas. Most stylists will tell you from experience that if sections aren't spaced properly, around 9 out of 10 times there will be problems with how well everything blends together in the end result.
Stick the adhesive strip about half an inch away from where hair grows on the head, making sure it follows how the hair naturally lies. Press down firmly for around fifteen seconds to get that special medical silicone stuck properly. Some folks find this timing works best according to what trichologists said back in 2023, giving good hold without hurting the scalp too much. Grab a hand mirror while doing this so you can check if the hairpiece actually lays flat against those tricky spots where the head curves.
Apply subsequent rows in a staggered, brick-lay pattern over completely dry hair. For medium-density hair, 6–8 wefts per side usually provide balanced fullness without overloading the roots. Industry data from 2022 shows this method reduces tension by 40% compared to vertical stacking, improving comfort and longevity.
| Action | Reason |
|---|---|
| Avoid wetting | Allows adhesive to fully cure (72 hrs) |
| Sleep on silk | Reduces friction-induced shifting by 60% |
| Skip tight styles | Prevents uneven tension on new bonds |
After putting in the extensions, it's time to trim them with good quality scissors. Try point cutting too those little vertical cuts at the ends gives things a softer look and makes them blend better with how real hair grows naturally. When going for layers, make sure the extensions are about half an inch or so shorter than actual hair length so they don't stick out when styled. Some recent research from Haircare Journal back in 2023 showed that this kind of textured cutting actually hides the line between real and fake hair much better than just straight across cuts do, around two thirds improvement according to their numbers.
When styling hair, keep ceramic tools under 350 degrees Fahrenheit and don't forget to apply some kind of heat protection product first. Color matching extensions should stay within two shades of the client's natural roots at most. Most salons report mismatched colors as the number one cause of looks that just don't look right (according to Salon Pro's 2023 survey). When creating highlights, pick strands that are about one to two shades lighter than the mid-length sections. This creates that beautiful sun-kissed effect clients love so much. A lot of stylists notice how this subtle difference makes all the difference in achieving natural looking results.
Proper care of tape-in extensions preserves their appearance and protects your natural hair. Follow these science-backed practices to maximize wear time and scalp wellness.
Begin detangling from the ends using a soft-bristle brush to avoid pulling on adhesive bonds. Wash every 2–3 days with sulfate-free shampoo—clinical studies show it reduces adhesive breakdown by 34% versus traditional formulas. Condition only from mid-length to ends to prevent oil accumulation near the tape.
Sleep with hair in a loose braid or wrapped in a silk scarf. Silk pillowcases reduce nighttime tangling by 72%, according to the Hair Health Journal (2023), and help maintain tape integrity by minimizing friction.
Opt for pH-neutral, fragrance-free cleansers containing soothing ingredients like oatmeal or aloe vera. Dermatological trials show such formulas lower irritation risk by 81% in sensitive skin types.
Most sets last 6–8 weeks before needing repositioning. High-quality human hair extensions can be reused 3–4 times by replacing the adhesive strips. Improper retaping accounts for 58% of early replacements due to uneven bonding, so professional service is recommended.
Salons use acetone-free solvents, such as those validated in extension safety guidelines, to dissolve adhesive cleanly without stripping natural oils. Professional removal lowers breakage risk by 90% compared to DIY techniques, preserving the health of your natural hair.
Tape-in extensions made from 100% real human hair provide a natural look, increased confidence, and a longer-lasting finish, as they behave just like your own hair does.
High-quality tape-in extensions can last between 6–8 weeks. Key factors influencing their durability include hair type, installation precision, and care routine.
Yes, these extensions can be styled and color-matched to blend seamlessly with your natural hair. It's recommended to use low heat and avoid drastic color changes.
Professional removal using acetone-free solvents is recommended to minimize breakage and protect natural hair. Avoid DIY techniques as they can cause more damage.
 Hot News
2025-06-05
2025-06-02
2025-05-29
2025-10-09
2025-09-10
2025-08-13