
Why Choose Tape in Extensions Human Hair? Benefits and Comparisons
Benefits of Tape-In Hair Extensions for Natural Appearance
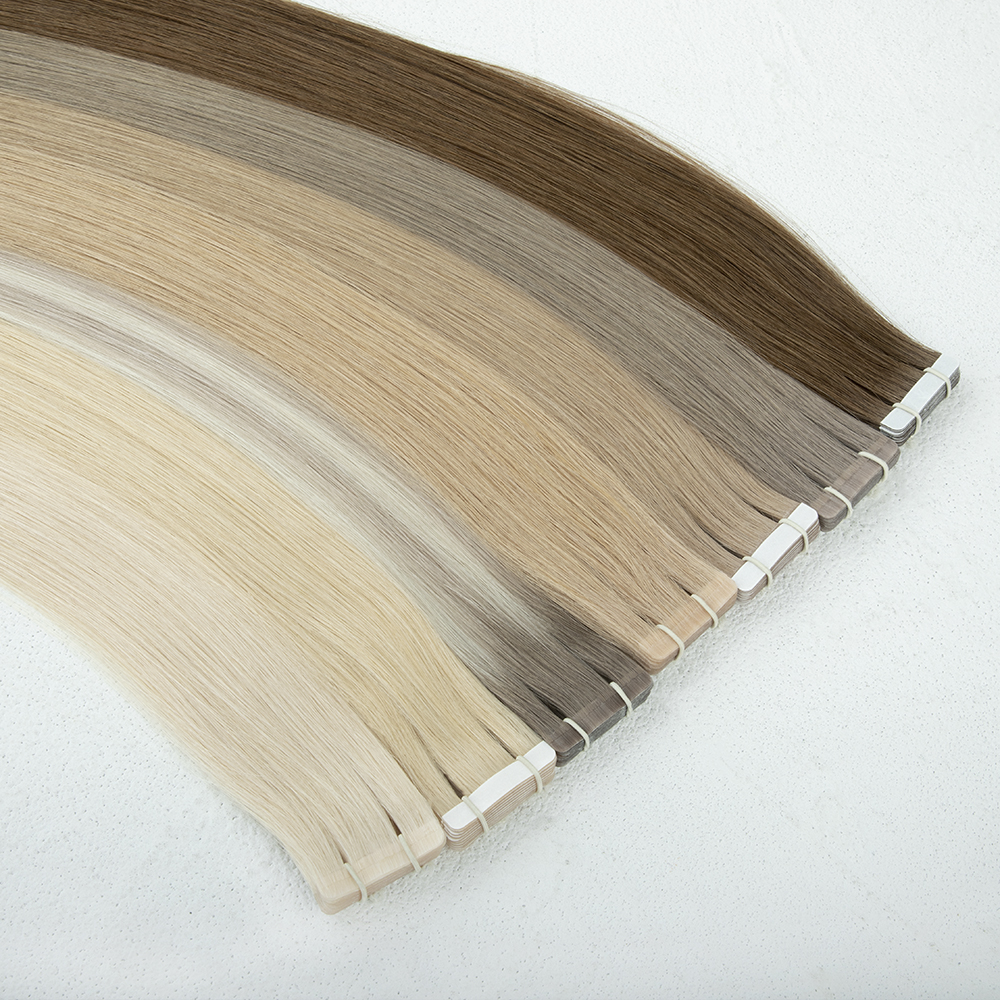
Tape in extensions crafted from pure remy human hair give that super natural appearance because they lie right against the scalp, no bulkiness or those annoying visible bonds that plague other extension types. The really thin adhesive strips, about half a millimeter thick at most, help these extensions blend in so well there's hardly any line between real hair and the extensions. People with fine or thin hair will find this method works best since it doesn't add much extra weight. A recent industry report from 2023 showed pretty impressive numbers too, with around 7 out of 10 users saying tape ins looked the most natural compared to all other options on the market today. This makes sense when we think about how evenly distributed the weight is and how well they mix into existing hair layers without standing out.
Why Human Hair Is Best for Seamless Blending and Longevity
Real human hair extensions give people way more options when it comes to styling because they can handle pretty high temperatures around 360 degrees Fahrenheit without getting damaged. They soak up styling products just like our own hair does too, and keep their color looking good for much longer periods. What makes them different from fake hair is how they actually change texture over time similar to what happens naturally as our own hair ages. This gives them that authentic look and feel, which means most folks find they last anywhere between six to eight months if taken care of properly. Studies indicate that tape-in extensions made from real hair slip out about 40 percent less often compared to synthetic ones when humidity levels rise, so they stay blended better no matter where someone travels or lives.
Comparing Tape-Ins to Other Extension Types for Comfort and Aesthetics
| Factor | Tape-In Extensions | Clip-Ins | Fusion/Keratin Bonds |
|---|---|---|---|
| Installation Time | 45–60 minutes | 15–20 minutes | 2–3 hours |
| Reusability | 3–5 reapplications | Unlimited | Single-use |
| Scalp Tension | 0.2 oz per weft | 0.5 oz per clip | 0.3 oz per bond |
| Styling Versatility | Updos, braids, ponytails | Limited to half-up | Avoid high tension |
The same 2023 report highlights that tape-ins strike an optimal balance: they last significantly longer than clip-ins (8 weeks vs. 2 weeks) and offer multiple reapplications unlike single-use fusion bonds, combining aesthetic appeal with long-term hair health.
Preparing Your Hair for Tape-In Extension Application
Washing and Thoroughly Drying Natural Hair Before Installation
Start off with a sulfate free clarifying shampoo to get rid of all those oils, products, and residues that might mess up how well things stick later on. Conditioners and leave ins are actually bad news here because they form this slick layer around each strand of hair. According to research published in the Cosmetic Science Review back in 2023, people who followed this prep method saw their tape bonds last about 30 percent longer for almost two months straight. Once the hair is washed, make sure it's totally dry before moving forward. Using a blow dryer set to medium heat works best. Wetness near the root area really weakens the bond between strands and makes everything more likely to slip out from under whatever holds it in place.
| Key Preparation Steps | Why It Matters |
|---|---|
| Clarifying shampoo | Removes residue for maximum adhesive contact |
| Full drying | Prevents moisture-related slippage |
| No conditioner | Avoids slippery surface on hair shafts |
Cleaning the Application Area With Isopropyl Alcohol
After the hair has dried completely, take a cotton pad dipped in about 90% isopropyl alcohol and gently wipe around the roots, roughly half an inch away from where the hair meets the scalp. This step helps get rid of those tiny oils that build up over time and makes sure the tape sticks properly to the actual hair shaft. Let things sit for maybe two or three minutes until all the alcohol has dried off entirely. Rushing this part can mess with how well the adhesive works later on, so patience here really pays off in the long run.
Detangling and Assessing Hair Health to Prevent Damage
Start detangling with a wide tooth comb working from the bottom up to avoid snapping strands. Take time to look at the condition of your hair too. Split ends, areas where hair is getting thinner, or any redness on the scalp are all warning signs that might get worse once extensions are added. When damage covers over a fifth of the hair shaft, it's probably wise to wait before putting in extensions until things heal up. Strong healthy hair underneath makes for better hold overall and cuts down on the chance of developing traction alopecia. Some studies suggest about one out of every five people who wear extensions experience this issue at some point, so taking care of the foundation matters a lot.
Step-by-Step Professional Application of Tape in Extensions Human Hair
Sectioning hair for tape-in application: Achieving even distribution
When making those horizontal partings, aim for about 1 to 2 centimeters thickness with the help of a good quality tail comb. Start right above where the ears sit and work your way up towards the crown area. For the parts that aren't being worked on right now, clip them out of the way using those handy alligator clips we all love so much. This keeps everything organized and stops things from getting too bulky during styling. Getting the sections right makes life so much easier actually. Most stylists notice they can finish jobs around 30% faster when done properly. Plus there's something really satisfying about how evenly weighted the hair feels afterward, plus nobody wants that awkward looking finish where one side just looks different from the other.
Proper placement of tape-in extensions using the sandwich technique
Peel the backing from one tape tab and position the weft approximately ¼ inch from the scalp. Sandwich a thin layer of natural hair between two adhesive strips, pressing firmly for 10–15 seconds. Stagger wefts diagonally rather than stacking vertically to follow natural growth patterns and avoid concentrated tension points.
Pressing and sealing the wefts for maximum adhesion
Press down firmly but evenly with either a silicone tipped applicator or just fold up a microfiber cloth and hold it there for about twenty seconds. According to research published last year in the Beauty Tools Journal, doing this actually makes whatever we're sticking stay put around 40 percent longer. Don't go rubbing back and forth or twisting things around though because that messes up how well everything sticks together. If there's any air getting trapped underneath, take a simple ribbon (the kind from gift wrapping works great) and gently run it between the layers to pop those pesky bubbles without breaking the connection altogether.
Heat vs. pressure in securing tape bonds: Best practices clarified
Modern medical-grade tapes are designed to bond effectively under pressure alone–no heat required. In fact, flat iron use above 300°F (149°C) accelerates adhesive degradation by three times, according to Cosmetics Science Journal data. Focus instead on precise sectioning, clean application, and consistent pressure to achieve secure, long-lasting results.
Blending and Styling for a Seamless, Natural Look
Choosing the Right Extensions Based on Texture, Color, Length, and Quality
To blend extensions seamlessly, it makes sense to go with the same texture pattern as what grows from your head straight through to curly. When picking out shades, always check those color samples under different lights too. Most people mess this up because they don't see how lighting affects color perception according to some industry research last year showing around two thirds of all color problems stem from bad light conditions. Keep extension length close to what we already have on our heads ideally no more than couple inches difference so everything looks natural together without creating unwanted bulkiness at the roots.
Color Matching for Seamless Blend Across Different Lighting Conditions
To avoid flat, artificial-looking results, use a gradient approach: combine 2–3 shades slightly lighter and darker than your base color. This mimics natural dimension and provides depth under changing light, such as bright offices or sunlight, where single-tone wefts often appear unnatural.
Layering and Texturizing Techniques to Blend Extensions With Natural Hair
Softening those transitions at the crown area and along the face frame works best when using staggered layers that are pretty thin. Razor cutting is actually great for tapering out extensions so they blend right in with regular hair without feeling stiff or awkward. After styling, grab some texturizing spray and work it through from about halfway down the lengths. Give it a gentle scrunch too this helps break up any flat spots while adding some much needed volume and movement throughout. The result? Hair that looks totally real, not just styled but actually worn naturally over time.
Maintaining Tape in Extensions Human Hair for Longevity and Scalp Health
Gentle Washing Techniques to Preserve Tape Integrity
Wash every 2–3 days using sulfate-free, pH-balanced shampoo and lukewarm water to protect adhesive strength. Apply cleanser from mid-length to ends, avoiding direct scrubbing near the tape tabs. Studies show extensions washed with gentle formulas last up to 30% longer than those exposed to harsh detergents.
Avoiding Oil-Based Products Near the Roots to Prevent Slippage
Oil-based serums and conditioners near the roots can reduce adhesive strength by up to 45% (Cosmetic Science Journal 2022). To hydrate without compromising hold, apply moisturizers only to the ends. Use dry shampoo between washes to manage scalp oil while preserving bond security.
Reapplying or Re-Taping Extensions Every 4–6 Weeks: What to Expect
As natural hair grows 0.5–1 cm per month, tape-ins gradually shift downward, requiring professional repositioning every 4–6 weeks. Delaying maintenance increases matting risk threefold and exposes adhesive to dirt and sebum buildup, shortening overall lifespan.
Recognizing Signs of Traction Alopecia and Preventing Long-Term Damage
Persistent itching, redness, or localized thinning at attachment sites may indicate early traction alopecia. Schedule monthly scalp checks and keep total extension weight under 150 grams to evenly distribute tension. Proactive care ensures prolonged wear without compromising natural hair health.
FAQs on Tape-In Extensions Human Hair
What are the advantages of tape-in extensions over other types?
Tape-in extensions provide a balanced blend of natural appearance, comfort, and longevity. They are easier to maintain than fusion bonds and last much longer compared to clip-ins, making them a great all-around choice for many users.
How often should tape-in extensions be replaced or repositioned?
Tape-in extensions should be repositioned every 4–6 weeks due to natural hair growth, which causes the extensions to gradually move away from the scalp.
Are tape-in extensions safe for fine or thin hair?
Yes, tape-in extensions are particularly beneficial for those with fine or thin hair since they add minimal weight and lie flush against the scalp, providing a natural appearance.
How should I prepare my hair before applying tape-in extensions?
Use a sulfate-free clarifying shampoo, avoid conditioners, dry hair completely, and clean the root area with isopropyl alcohol to prepare your hair for tape-in extension application.
What care does tape-in extensions require?
Gentle washing every 2–3 days, avoiding oil-based products near the roots, and regular maintenance to prevent slippage and maintain adhesive strength are recommended for the longevity of tape-in extensions.
Table of Contents
- Why Choose Tape in Extensions Human Hair? Benefits and Comparisons
- Preparing Your Hair for Tape-In Extension Application
- Step-by-Step Professional Application of Tape in Extensions Human Hair
- Blending and Styling for a Seamless, Natural Look
- Maintaining Tape in Extensions Human Hair for Longevity and Scalp Health
- FAQs on Tape-In Extensions Human Hair