
Tape hair extensions have revolutionized the beauty industry by offering a semi-permanent solution for adding length, volume, and color to natural hair. This innovative method uses medical-grade adhesive tape to attach extension pieces, creating a seamless blend that can last several weeks. However, proper removal and reinstallation techniques are crucial to maintaining the health of your natural hair while maximizing the lifespan of your extensions. Understanding the correct procedures ensures that you can enjoy beautiful, voluminous hair without compromising the integrity of your natural strands.
Understanding Tape Hair Extension Structure and Adhesion
The Science Behind Medical-Grade Adhesive Technology
The adhesive used in high-quality tape hair extensions employs advanced polymer chemistry specifically designed for hair applications. This medical-grade tape creates a strong bond with natural hair while remaining gentle enough to allow for safe removal when proper techniques are employed. The adhesive is formulated to withstand daily styling, washing, and environmental factors while maintaining its grip for approximately six to eight weeks.
Modern tape hair systems utilize a dual-sided adhesive structure that distributes weight evenly across the attachment point. This design minimizes stress on individual hair strands and reduces the risk of breakage during wear. The adhesive's molecular structure allows it to maintain flexibility, preventing the brittle hardening that can occur with inferior products and potentially damage natural hair during removal processes.
Identifying Quality Extension Materials
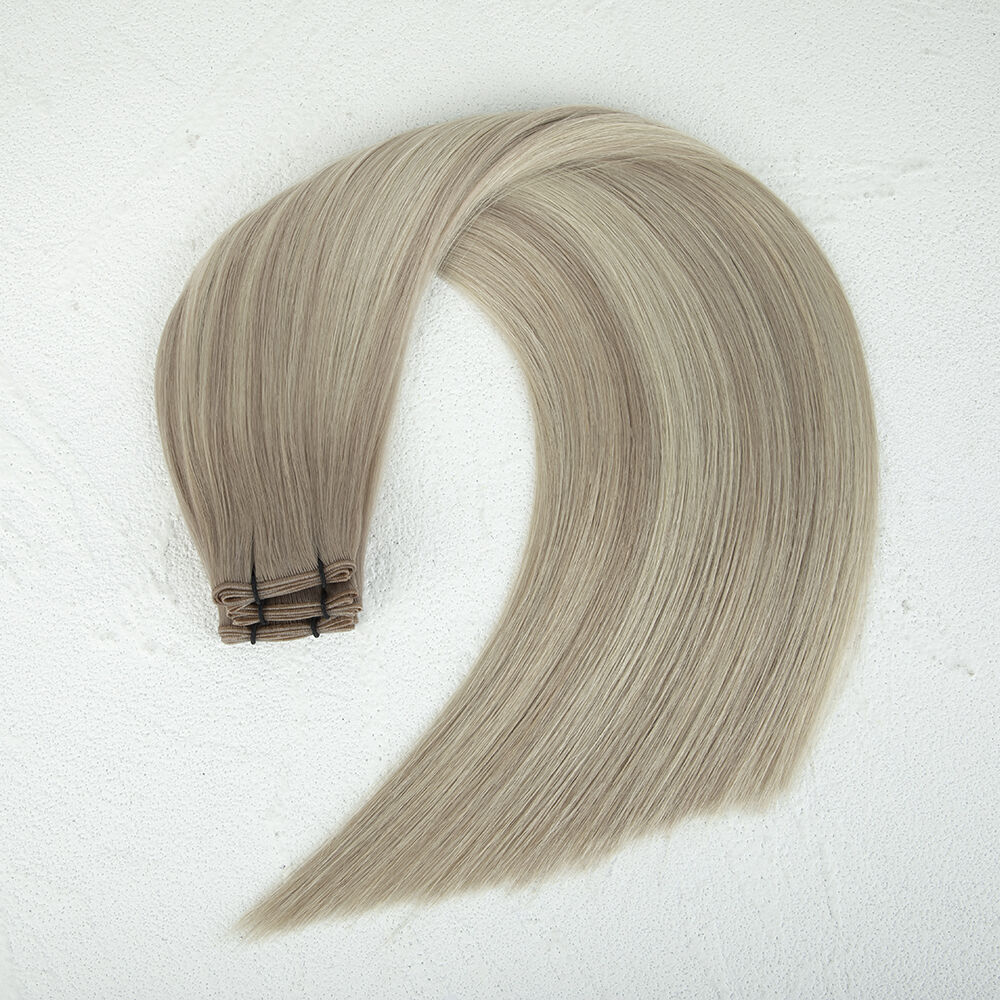
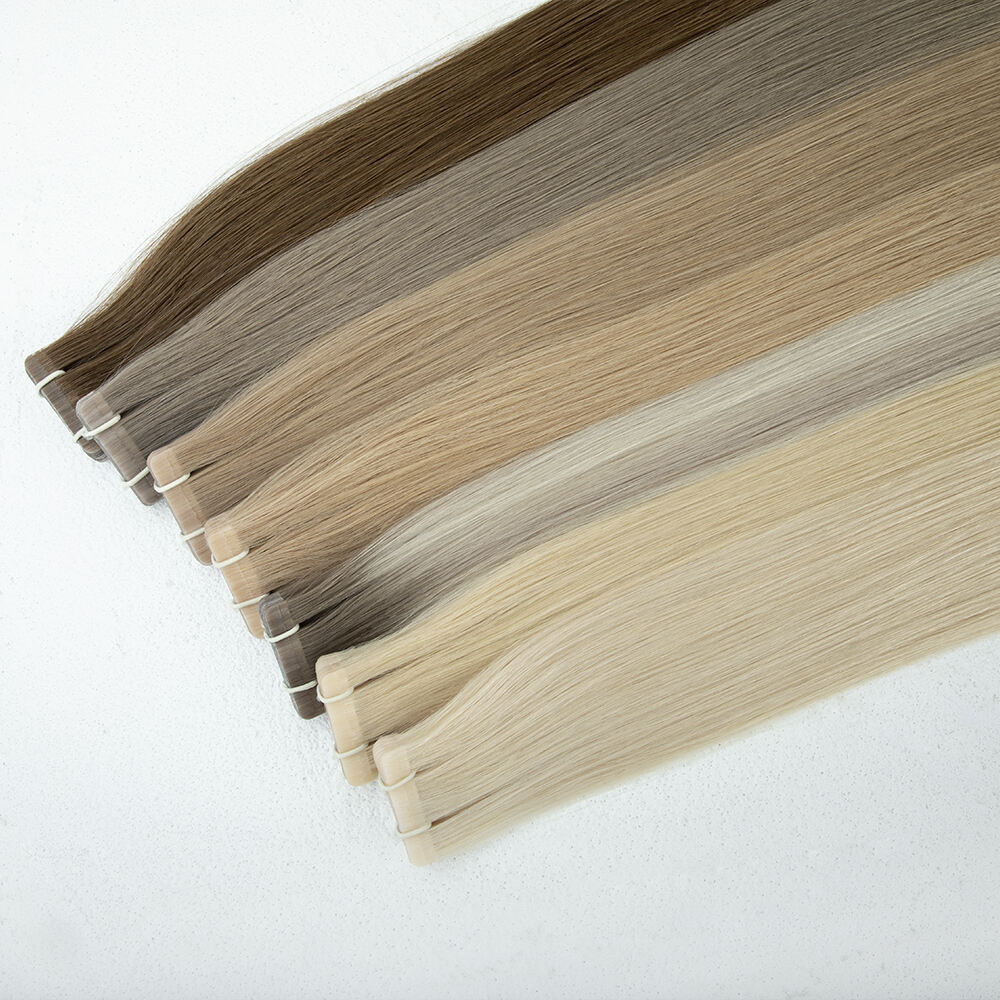
Premium tape hair extensions feature carefully selected human hair that matches the texture and movement of natural hair. The tape backing should be thin yet durable, measuring approximately 1.5 to 2 inches in width to provide adequate surface area for secure attachment. Quality extensions will have consistent tape placement and smooth edges that prevent snagging during application and daily wear.
The hair itself should exhibit natural cuticle alignment and minimal processing damage. High-grade extensions maintain their integrity through multiple removal and reinstallation cycles when handled properly. Professional-grade tape hair systems often include color-coding or marking systems to help stylists track the number of uses and ensure optimal performance throughout the extension's lifespan.
Pre-Removal Preparation and Safety Measures
Essential Tools and Products for Safe Removal
Successful tape hair removal requires specific tools and products designed to dissolve adhesive bonds without damaging natural hair. Professional adhesive removers contain specialized solvents that break down tape bonds while conditioning hair strands. These formulations typically include nourishing ingredients like argan oil or keratin to protect hair during the removal process.
Additional essential tools include fine-tooth combs for sectioning, wide-tooth combs for gentle detangling, and professional-grade clips for organizing hair sections during removal. A spray bottle filled with lukewarm water helps keep hair manageable throughout the process. Having these items prepared before beginning ensures a smooth, efficient removal process that minimizes stress on natural hair.
Hair Assessment and Sectioning Techniques
Before beginning removal, thoroughly examine the condition of both natural hair and extensions to identify any areas requiring special attention. Look for signs of tangling, matting, or excessive buildup that might complicate the removal process. Areas where extensions have been worn for extended periods may require additional care and patience during removal.
Proper sectioning creates organized removal zones that prevent confusion and reduce handling time. Start by dividing hair into horizontal sections, working from the bottom layer upward. Each section should expose the tape attachments clearly while keeping surrounding hair out of the way. This systematic approach ensures that no extensions are missed and reduces the risk of accidentally pulling on natural hair during the process.
Step-by-Step Removal Process
Adhesive Dissolution Techniques
Begin the removal process by applying adhesive remover generously to each tape hair attachment point. Allow the solvent to penetrate the adhesive for the recommended time, typically three to five minutes, depending on the product specifications. The goal is to completely saturate the adhesive without over-applying product to surrounding hair areas.
During the waiting period, gently massage the remover into the tape area using fingertips, working from the edges toward the center of each tape piece. This technique helps distribute the solvent evenly and accelerates the adhesive breakdown process. Avoid using excessive force or pulling motions that could damage natural hair before the adhesive has fully dissolved.
Gentle Separation and Extension Removal
Once the adhesive has sufficiently softened, begin separating the tape pieces using a gentle sliding motion rather than pulling. Hold the natural hair section firmly near the roots to prevent unnecessary tension while working the extension free. The properly dissolved adhesive should allow the tape hair to slide away from natural hair with minimal resistance.
If resistance is encountered, apply additional remover and wait longer before attempting separation again. Forcing the removal can result in hair breakage or damage to both natural hair and extensions. Work systematically through each attachment point, taking time to ensure complete adhesive dissolution before moving to the next section.
Post-Removal Hair Care and Preparation
Thorough Cleansing and Residue Removal
After removing all tape hair extensions, natural hair requires thorough cleansing to eliminate adhesive residue and remover products. Use a clarifying shampoo specifically designed to remove buildup, working it through hair sections methodically. Pay particular attention to areas where tape attachments were located, as residual adhesive can attract dirt and create tangling issues.
Follow the clarifying treatment with a moisturizing conditioner to restore hydration and manageability to natural hair. The removal process can temporarily strip natural oils, so deep conditioning helps restore hair's natural balance. Allow the conditioner to remain on hair for several minutes before rinsing to maximize its restorative benefits.
Hair Health Assessment and Recovery
Examine natural hair carefully after cleansing to assess its condition and identify any areas requiring special attention before reinstallation. Look for signs of dryness, breakage, or weakness that might affect the success of new extension applications. Hair that appears damaged or overly processed may benefit from professional treatments or a rest period before new extensions are applied.
Consider applying a protein treatment if hair appears weakened or shows signs of elasticity loss. These treatments help restore structural integrity and prepare hair for the stress of new extension attachments. Allow adequate drying time before proceeding with reinstallation to ensure optimal adhesion and extension longevity.
Extension Preparation for Reinstallation
Cleaning and Reconditioning Extension Hair
Used tape hair extensions require thorough cleaning and preparation before reinstallation to ensure optimal performance and longevity. Begin by removing all old adhesive residue from the tape backing using specialized adhesive removers designed for extension maintenance. Work carefully to avoid damaging the hair fibers while ensuring complete residue removal.
Wash the extension hair using gentle, sulfate-free shampoo to remove buildup and styling product residue. Follow with a light conditioning treatment, avoiding the tape area to prevent interference with new adhesive application. Allow extensions to air dry completely before applying new tape backing, as any residual moisture can compromise adhesive performance.
New Tape Application and Quality Control
Apply new medical-grade tape backing to clean, dry extensions using proper alignment techniques to ensure optimal adhesion and appearance. The tape should be centered on the extension piece with consistent overlap on both sides. Smooth out any air bubbles or wrinkles that could create weak points or visible irregularities once installed.
Inspect each prepared extension piece for proper tape placement and secure adhesion before beginning the reinstallation process. Quality control at this stage prevents installation issues and ensures consistent results. Store prepared extensions in a clean, dry environment until ready for application to maintain adhesive integrity.
Professional Reinstallation Techniques
Strategic Placement and Sectioning Methods
Successful tape hair reinstallation begins with strategic planning and precise sectioning to create natural-looking results. Map out the placement pattern based on desired volume, length, and coverage areas while considering natural hair growth patterns and styling preferences. This planning phase ensures even weight distribution and prevents stress concentration in any particular area.
Create clean, horizontal sections using the tail of a rat-tail comb, ensuring each section is straight and properly sized for the extension pieces being installed. The natural hair section should be slightly narrower than the tape width to allow for proper adhesion without extending beyond the tape boundaries. Consistent sectioning creates a professional finish and ensures long-lasting results.
Proper Application Pressure and Timing
Apply tape hair extensions using firm, even pressure distributed across the entire tape surface to ensure complete adhesion. Press the extension against natural hair for approximately 10-15 seconds, using a professional extension tool or clean hands to create consistent pressure. Avoid excessive force that could damage hair or create uncomfortable tight spots.
Work efficiently but methodically through each section, allowing adequate time for initial adhesive bonding before moving to the next piece. The adhesive continues to strengthen over the first 24-48 hours after installation, so gentle handling during this initial period helps ensure optimal longevity and performance of the newly installed extensions.
Maintenance and Care Guidelines
Daily Styling and Handling Practices
Proper daily care significantly extends the lifespan of tape hair extensions while maintaining natural hair health. Use gentle brushing techniques, starting from the ends and working upward to avoid stress on attachment points. A specialized extension brush with flexible bristles helps prevent snagging and reduces the risk of premature loosening.
When styling with heat tools, use thermal protection products and avoid direct heat application to tape attachment areas. The adhesive can soften under high temperatures, potentially weakening the bond and reducing extension longevity. Distribute heat evenly and use moderate temperature settings to achieve desired styling results while preserving extension integrity.
Washing and Product Selection
Select hair care products specifically formulated for use with tape hair extensions, avoiding those containing sulfates or excessive oils that can break down adhesive bonds. Wash hair gently using lukewarm water and focusing shampoo application on the scalp rather than the length of hair where extensions are attached.
Limit washing frequency to 2-3 times per week to minimize exposure to water and products that could affect adhesive performance. When conditioning, apply product to mid-lengths and ends only, avoiding the root area and tape attachment points. This targeted approach maintains hair health while preserving extension longevity.
FAQ
How often should tape hair extensions be removed and reinstalled
Tape hair extensions typically require removal and reinstallation every 6-8 weeks, depending on hair growth rate and maintenance practices. This timeframe allows for optimal extension performance while preventing natural hair damage from prolonged tension. Some individuals with faster hair growth may need more frequent maintenance, while others can extend the period slightly with proper care.
Can tape hair extensions be reused multiple times
High-quality tape hair extensions can typically be reused 3-4 times with proper care and maintenance. Each removal and reinstallation cycle may cause some minor wear to both the hair fibers and attachment system, so performance may gradually decline with repeated use. Proper cleaning, storage, and handling between uses maximize the number of successful reinstallations possible.
What are the signs that tape hair extensions need immediate removal
Several indicators suggest that tape hair extensions require immediate attention or removal, including visible lifting or loosening of tape pieces, excessive tangling near attachment points, or discomfort when brushing or styling. Additionally, if natural hair shows signs of breakage or damage around extension sites, prompt removal prevents further complications and allows for proper hair recovery.
Is it possible to remove tape hair extensions at home safely
While professional removal is always recommended, tape hair extensions can be safely removed at home with proper products, tools, and techniques. The key is using appropriate adhesive removers, taking adequate time for the process, and never forcing removal when resistance is encountered. However, complex situations or valuable extensions may warrant professional handling to ensure optimal results and prevent damage.